My First OSS Activity
Ever since becoming a web engineer after graduating the university, I’ve admired people who commit to OSS (Open Source Software), but I always felt it was something unrelated to me.
The reason is that even though I use OSS regularly, I can’t find bugs, nor can I come up with ideas for feature improvements.
Besides, contributing felt somewhat intimidating, like it required significant training.
I thought OSS activity was something only super engineers did, a distant dream for me.
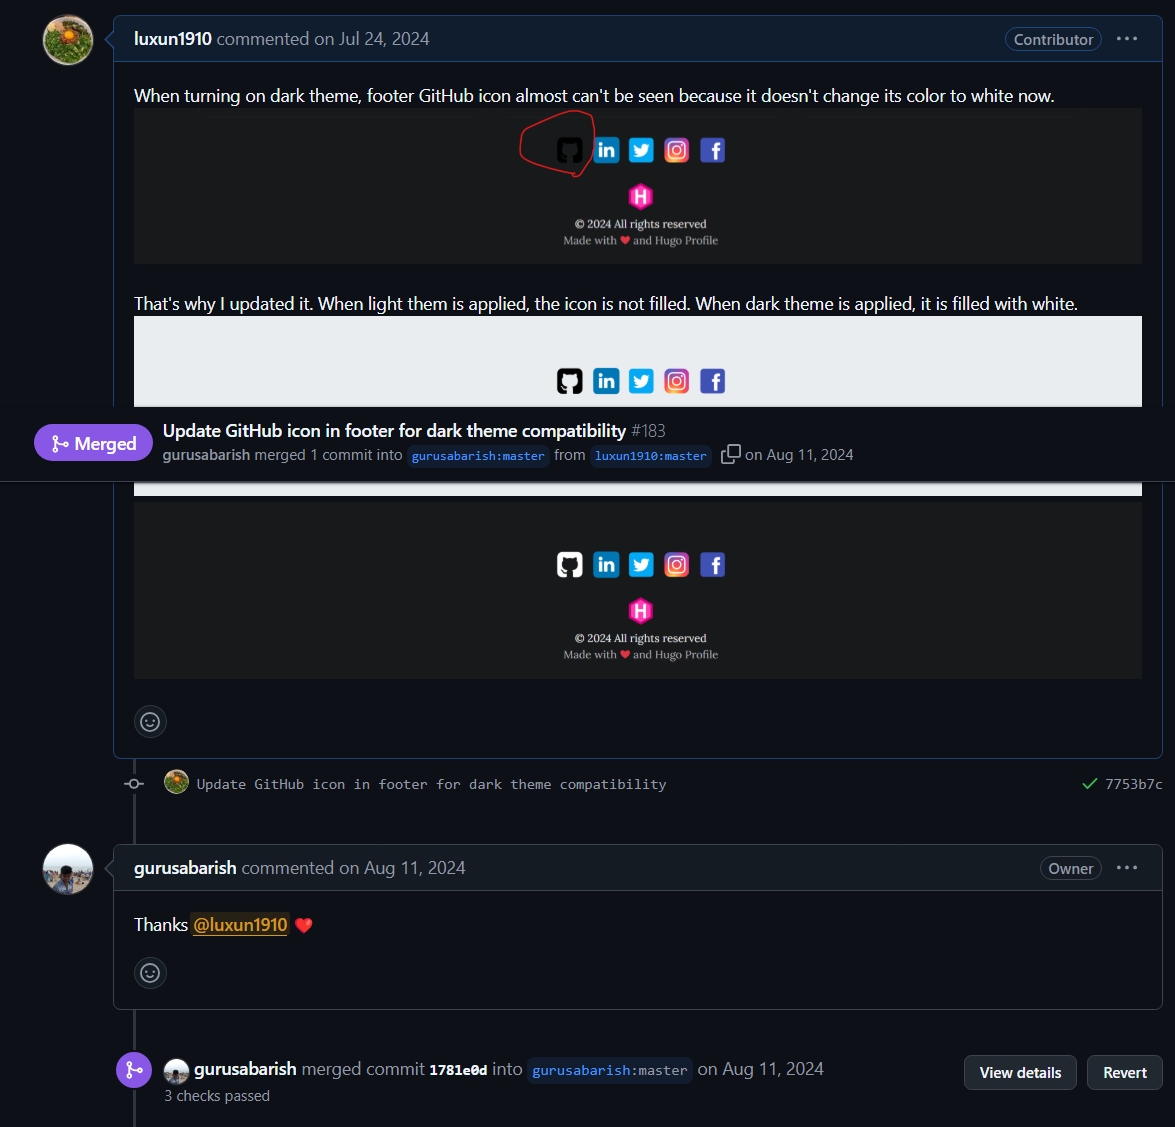
However, one day, I discovered an issue with the theme of this blog, hugo-profile. When switched to dark theme, the color of the GitHub icon in the footer didn’t change, making it hard to see.
Thinking this was a good opportunity, I researched how to contribute and submitted a pull request, which was eventually merged.
From then on, I discovered the joy of OSS activities.
I’m not sure if comparing it to volunteering is appropriate, but I genuinely felt a sense of “contribution.”
You don’t have to be a super engineer; you can start contributing to OSS with small things.
Taking this opportunity, I started submitting several pull requests, however small.
Translation is Recommended for Beginners
Among these activities, I found that translating documentation is probably the easiest way for beginners to get started.
In our globalizing world, many libraries lack Japanese documentation.
Meanwhile, the rise of generative AI like ChatGPT, AI-powered editors like Cursor, and high-performance translation tools like DeepL has made it easier for anyone to participate in translation activities.
Compared to fixing bugs or adding features, translation has a lower barrier to entry and is relatively easy to participate in.
Of course, a minimum level of language proficiency is necessary, but using the aforementioned AI and translation tools can make the work much easier.
If you’re interested in participating in OSS activities but feel intimidated, why not start by contributing through translation?
The Process of Submitting a Pull Request for Japanese Documentation
Recently, I added Japanese documentation to a document that previously only existed in foreign languages. I’d like to share the experiences and points to note gained during that process.
I translated the documentation for MyBatis-Plus, a library that extends MyBatis.
Since the library was created by people in China, the documentation was only available in Chinese.
It took about 3 weeks to translate approximately 50 pages, over 13,000 lines, which were then merged.
I worked for about an hour on weekdays and 4-5 hours on weekends.
Considering the library’s large scale, I think the work speed was quite fast. This isn’t because my language skills are exceptional.
As I’ll explain later, using Cursor allows you to proceed with translation work incredibly quickly, as long as you have basic language skills.
I’ll explain this point as well.
1. Find OSS Documentation Still in a Foreign Language
Naturally, you first need something to translate.
Looking back at the libraries you’ve used for work or personal projects is probably the quickest way.
Browsing GitHub’s Explore section is also a good idea.
Incidentally, my involvement with MyBatis-Plus started because it was used at the company I currently work for.
2. Check if a Translation Project Exists
Once you access the GitHub page for the relevant documentation, check if a Japanese translation project already exists.
If it does, proceed to step 4; if not, proceed to step 3.
3. Create an Issue
If a Japanese translation doesn’t exist, it’s a good idea to first ask in an Issue if creating one is okay.
Look at other issues to see which language to use, but it will most likely be English.
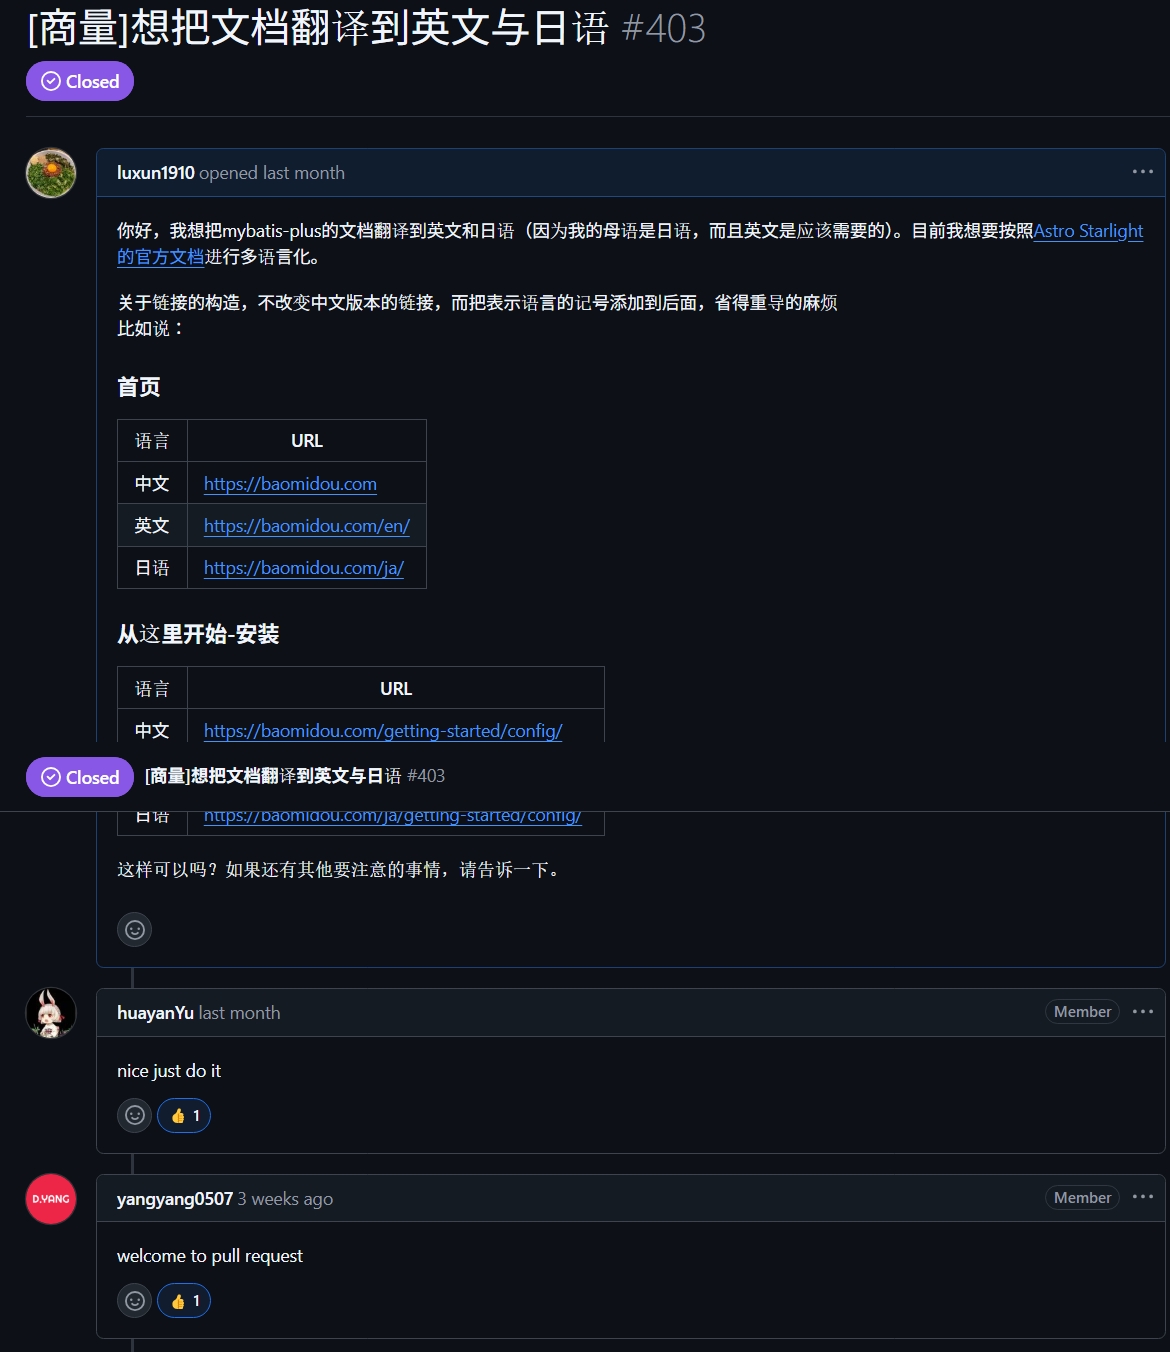
I created an Issue like the one below, and received a positive response encouraging me to go ahead, so I started immediately.
4. Check the Rules
Some projects have rules regarding branching, etc., so be sure to check them as well.
They are usually listed in the README.md file.
The MyBatis-Plus documentation didn’t have any specific rules.
5. Fork and Bring it Local
Forking means copying someone else’s remote repository to your own remote repository.
The idea is to make changes to the contents of this copied repository and eventually submit them as a pull request.
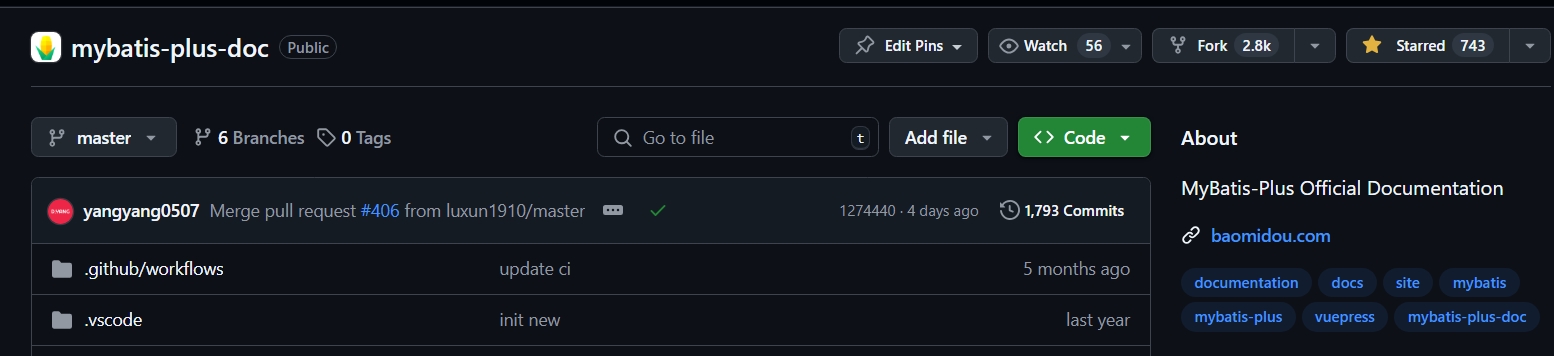
Click the Fork button in the upper right corner of the repository page, to the left of the Star button, and follow the on-screen instructions.
6. Start the Translation Work
This is where the real work begins!
This time, I decided to use Cursor, which I use regularly, as my translation tool.
The reason is that it keeps the formatting, like markdown, intact and translates while clearly showing the differences.
It’s more efficient than copying and pasting into ChatGPT or DeepL and then back into an editor.
This eliminates the need to come up with translations from scratch; you only need to judge whether the Japanese translation is appropriate compared to the original foreign language.
This difference is significant. Even if you’re not good at composing sentences, this method allows you to proceed with translation work as if you were simply finding errors.
Specifically, first copy the original document file into the directory where the translated document will be placed.
In this case, the documentation for MyBatis-Plus was configured using a static site generator called Astro Starlight, and the location for placing the md files for translation was predetermined, so I copied them accordingly.
Next, type and send a message in the chat like “{file path} is a Chinese document. Please translate it into Japanese.”
If successful, the translation will be completed as shown below (since the Japanese version is already translated, this example shows Chinese to English translation).
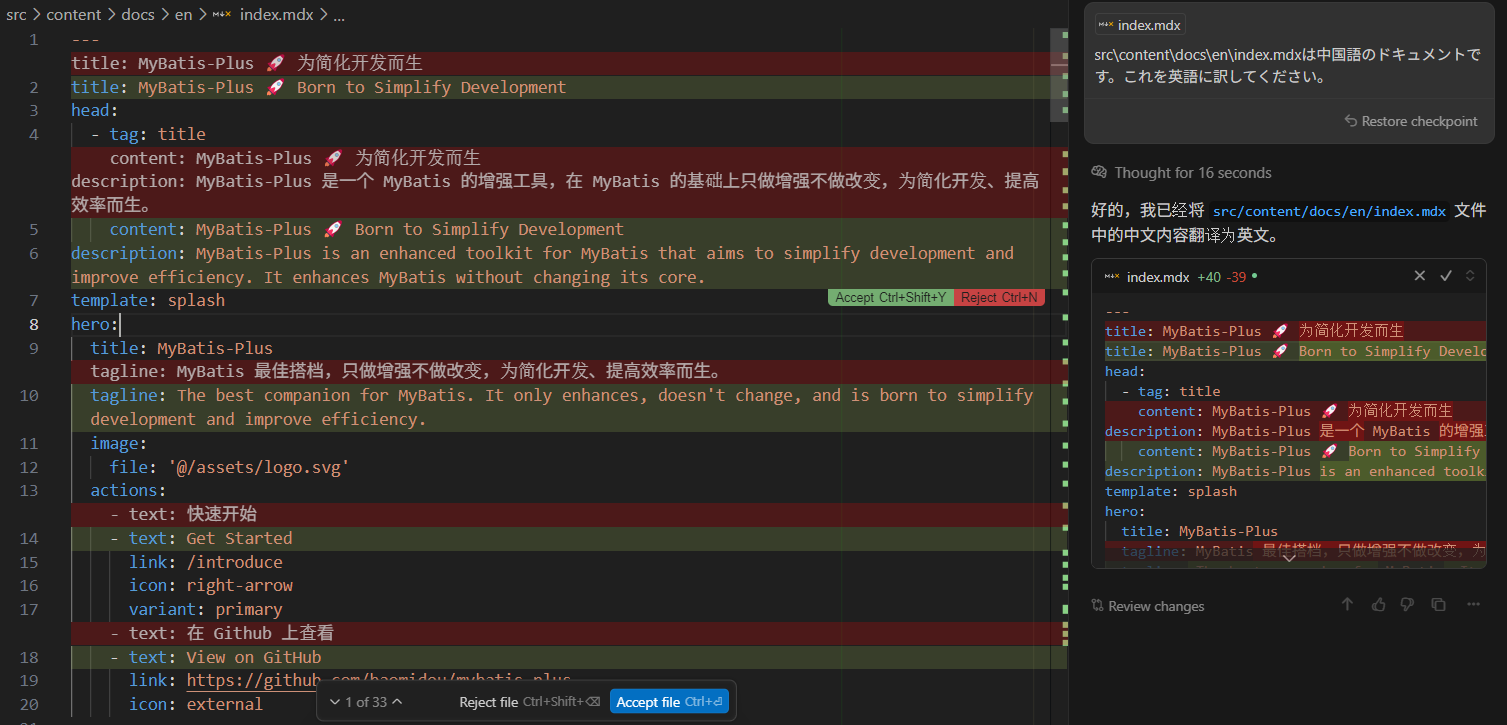
The differences are displayed, so correct any awkward translations and then Accept.
Points to Note During Translation
Here are some points to note during translation.
Note 1: Translate One File at a Time
Trying to translate everything at once may result in the translation not being applied correctly to the file.
Therefore, instead of greedily trying to translate all documents at once, it’s better to translate one file at a time.
Note 2: Use High-Performance Models
Naturally, using models known for higher performance will yield more accurate translation results.
Among those I tried, I found the quality of claude-3.7-sonnet and gemini-2.5-pro-exp to be quite high.
The models available in Cursor are listed here, so choose the ones that seem high-performing as needed.
Note 3: Be Careful Towards the End When Translating Long Texts
It might be possible to improve this with prompts, but in my environment, when translating long texts of nearly 1000 lines, noticeably strange translations increased towards the end.
It might skip entire sentences or start using unnatural, suspicious words in Japanese.
Therefore, be particularly careful when correcting the latter parts.
Note 4: Manually Correct Areas Needing Consistency or Use Project Rules
For example, in this documentation, the term “代码生成器” appears frequently.
“代码” means code, and “生成器” means generator. However, the AI generates multiple translation patterns like “コードジェネレータ,” “コードジェネレーター,” and “コード生成器.”
After completing the translation, correct such instances where the same term is used by replacing them, etc.
If you know beforehand which areas need consistency, describing this in Cursor’s Project Rules should result in more accurate translations.
7. Commit & Push Frequently
There are various opinions on the granularity of commits and pushes, but I believe doing them frequently is best.
As introduced in step 8, commits can be combined later, and it serves as a backup in case something goes wrong.
8. Combine Commits
When committing to someone else’s source code, it’s better to keep the commit history clean.
There are various ways to do this, but I used the VSCode extension GitLens.
Specifically, I referred to this article (in Japanese).
9. Create a Pull Request
Open the repository page of your forked account, and you’ll see a prompt asking if you want to submit a pull request. Follow the instructions to create the pull request.
This time, I submitted this pull request.
10. Wait for it to be Merged
Now, just wait.
Sometimes, you might receive requests for modifications from the maintainer or AI.
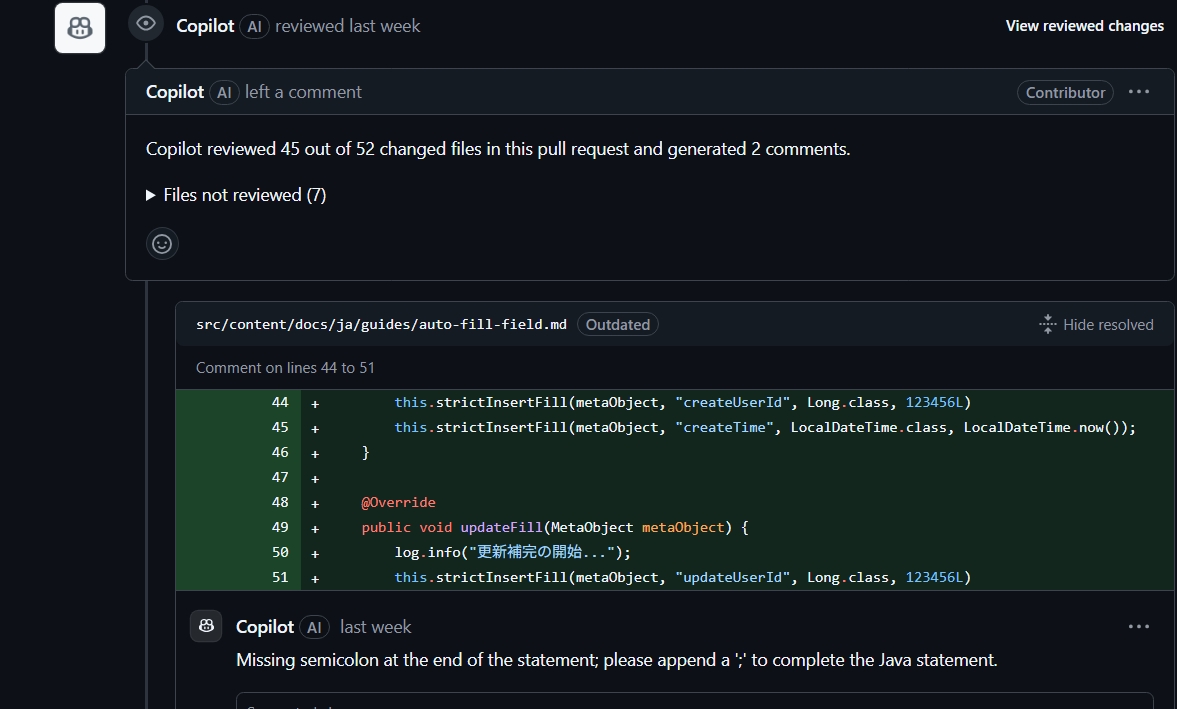
In such cases, understand their points well and make the necessary corrections.
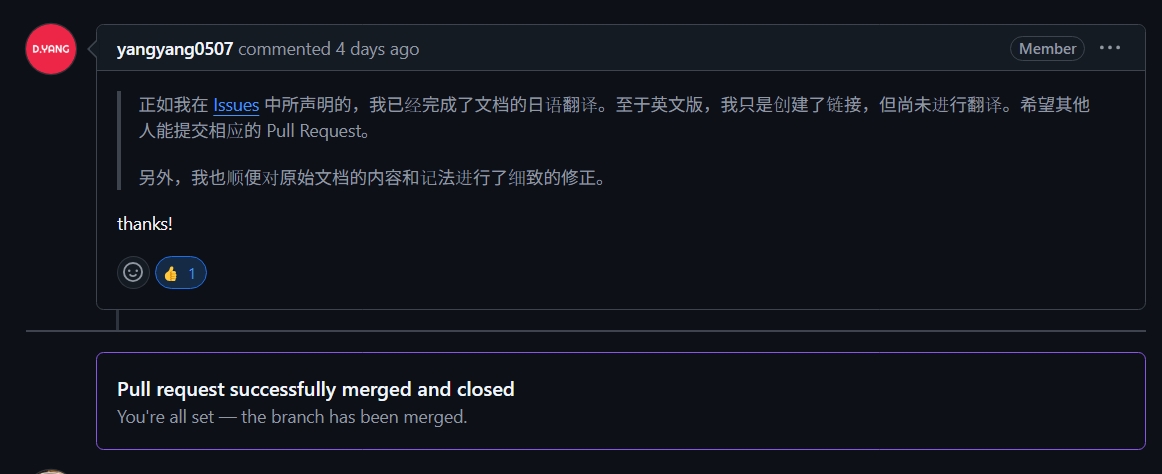
11. Merged
Congratulations! You’ve contributed to OSS!
Summary
What do you think? Did it make you feel like you could do it too?
I subscribe to Cursor, but the free tier is quite usable. Although slightly more cumbersome, you can achieve similar results using DeepL or ChatGPT.
OSS activity isn’t just about code; you can contribute in various ways.
Translating documentation is a valuable OSS activity.
Why not start with something you can do?